Confused about where to begin with extreme macro stacking?
I know from personal experience that It can be really hard to know where to begin with ‘extreme macro’ photography (i.e. working at greater magnifications than life size) as the kit can appear very specialised and the process seems to require a whole set of new photographic skills and knowledge.
Getting to a starting point can be very time consuming and overall the subject is pretty daunting for the beginner. In actual fact, with patience and some basic kit (much of which can be purchased cheaply from eBay or sourced from around the house) some pleasing images can be obtained with only modest time and effort.
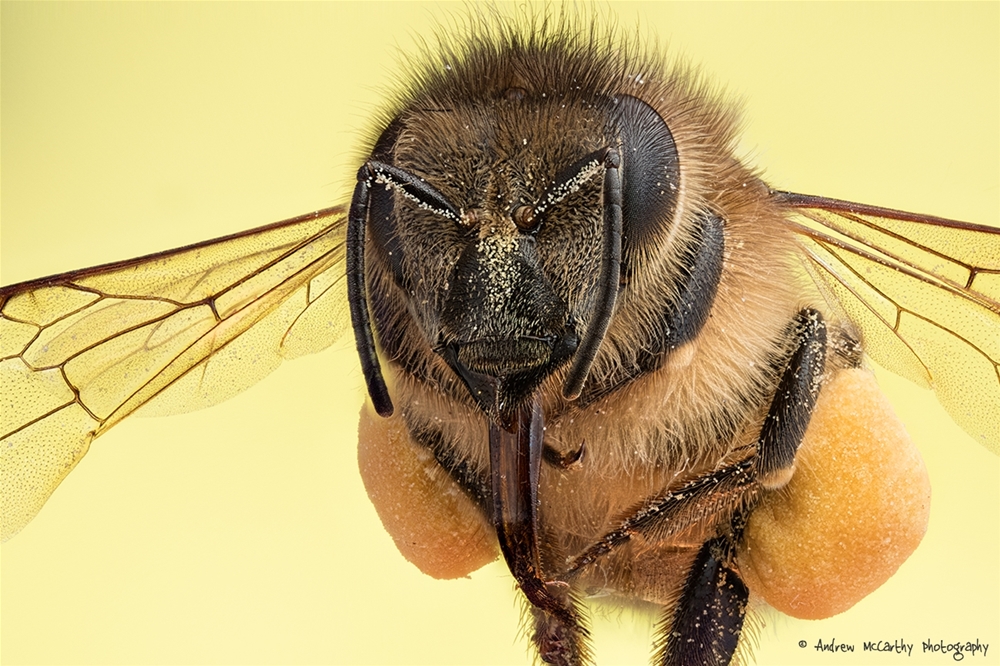
In terms of technical knowledge, there is of course a great deal of information on-line, but much of this is highly detailed and technical; even with dedicated websites it can be difficult for the wannabe extreme macro shooter to sort the ‘wheat from the chaff’. I thought therefore that it might be useful for beginners if I described the process I used when I started out shooting extreme close ups (manually) in order to obtain images such as that below of a worker honeybee loaded with pollen.

I am a Canon shooter, so some years back I invested in the unique Canon MP-E 65 lens which I now use for most of my ‘studio’ based extreme-macro photography. I use the lens purely for convenience – it say in my bag for quite a while before I decided to invest some time learning how to use it properly! It is not the best (or the only) lens for this type of work – there are many low-cost alternatives, including bellows, extension tubes (dead simple) or Raynox adaptors, that will give you perfectly acceptable results at greater than life size, and which are readily available.
I personally find the MP-E 65 extremely flexible however, as it is portable, light, simple (great for me!) and optically excellent – providing you understand the limitations involved with working at greater than 1:1 magnification (of which more in later posts) and at small apertures. The lens is is manual, so a twist of its external ‘focusing’ ring extends the magnification from 1:1 life size to x5 life size; a range which I find more than sufficient for shooting great close ups of many UK bugs.
Focusing the MP-E 65 is achieved by moving the lens forwards and backwards; this means you need a focusing rail of some kind for consistent results. If you are instead using a Raynox adaptor for example (which would allow retention of the cameras autofocus function, you would simply set your lens to AF and automate the stacking process using free software such as ‘Helicon Remote’. This allows you to tether your camera / lens combo to a PC for full off-camera remote control. Its pretty intuitive to use.
Manual stacking
When I started experimentally stacking at higher magnification, my stacks were completely manual – I started off using an old Novoflex focusing rail which was purchased from eBay for around £20.00. This served me very well until I could justify purchase of an automated macro rail (of which more in future posts). In the following posts I’ll assume most beginners at this kind of photography will not want to spend a much money upfront, and I’ll describe my simple manual stacking process in the next post.
